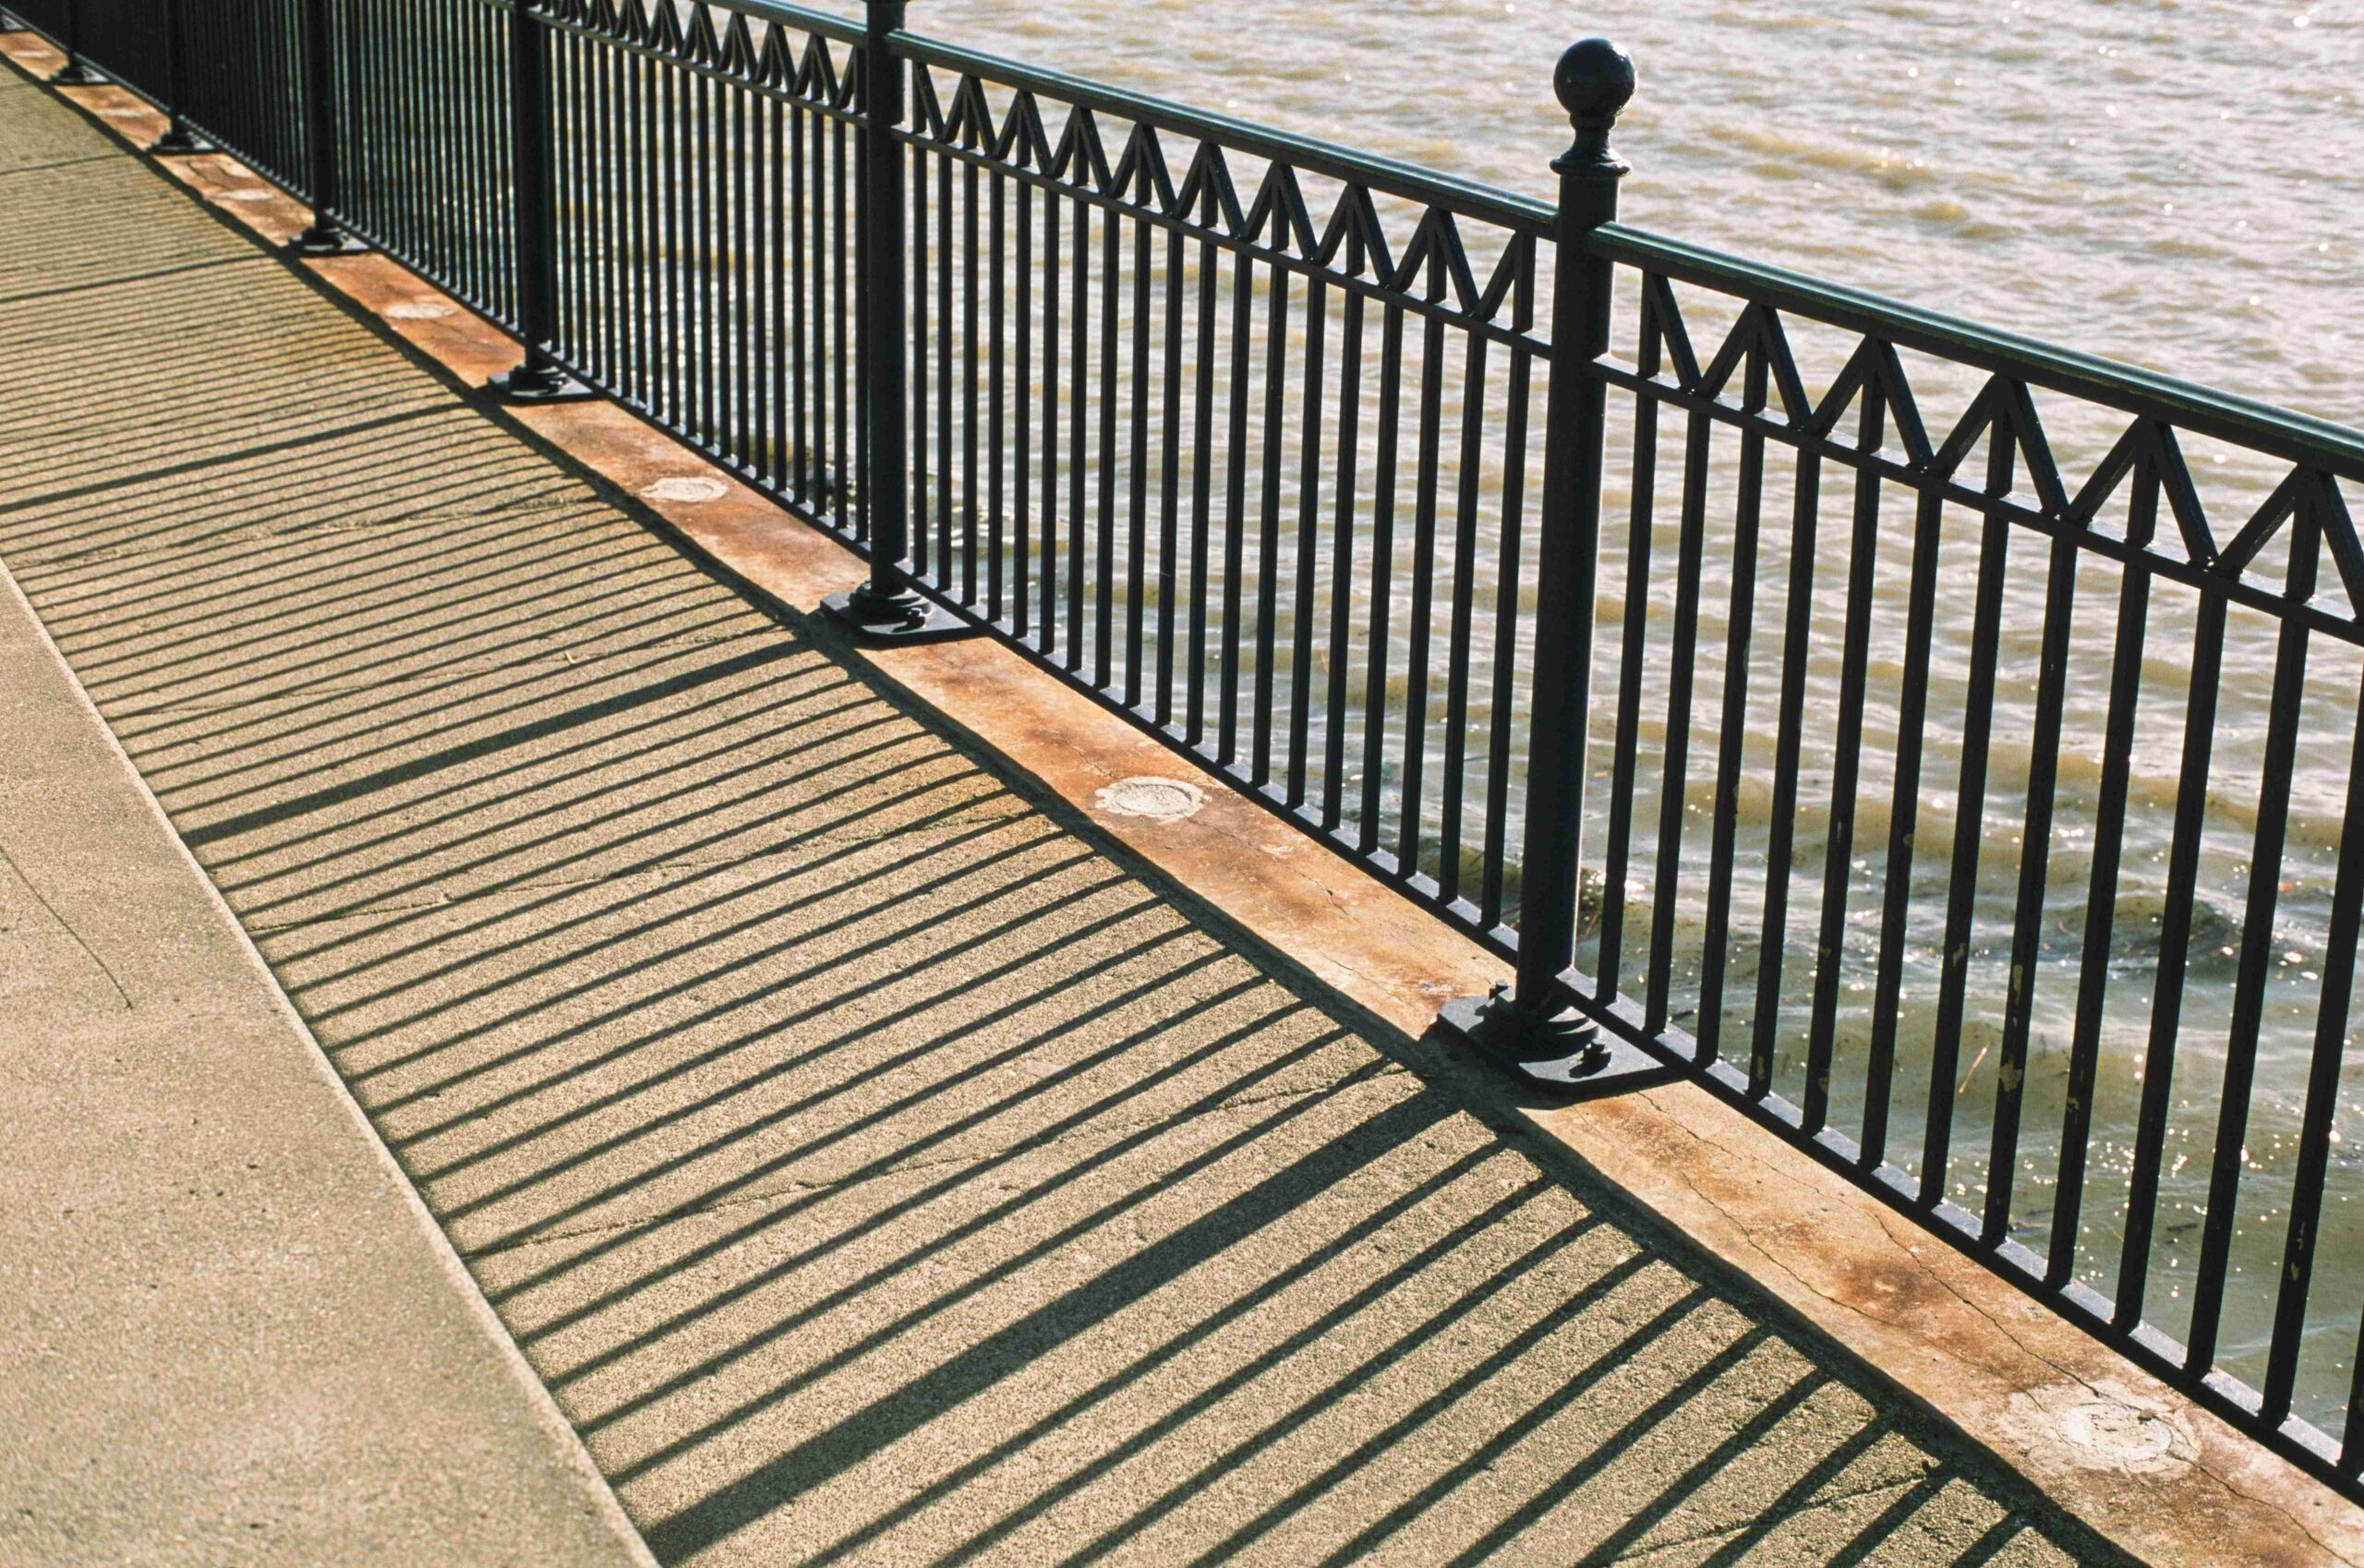
If you’re planning a DIY aluminum fence installation, having the right supplies on hand can make the difference between a smooth weekend project and a frustrating, drawn‑out process. Aluminum fencing is popular partly because it’s lightweight, durable, and relatively easy to install—but even the easiest job can hit snags if you’re missing key tools or materials. This guide covers the equipment, materials, and tools you’ll want to have ready before you start.
What’s Typically Supplied?
What comes with your fence order depends on where you buy it. Some suppliers include fence posts, caps, and self‑tapping screws; others sell only the panels. Always review the product details carefully so you know exactly what you’ll need to purchase separately.
Equipment
Most of the equipment needed for an aluminum fence installation is basic and can often be found around the home or garden.
- Tape Measure – Accurate measurements are essential. Follow the rule: measure twice, cut once.
- String – Use string to mark the fence line and visualize the overall layout before you dig.
- Marking Spray Paint (Optional) – Handy for marking post locations directly on the ground.
- Trowel or Shovel (Optional) – If you don’t have a post hole digger, you’ll need these to excavate holes for the posts.
- Wheelbarrow or Large Container – Needed for mixing concrete to secure the posts.
- Spade or Hoe – For mixing concrete by hand.
- Long Level – Ensures posts and panels are installed evenly.
Materials
Aluminum fencing requires relatively few additional materials, with concrete being the most important.
- Cement / Concrete Mix – Essential for anchoring posts firmly in the ground, ensuring long‑term stability.
- Gravel (Optional) – Useful for leveling the bottom of post holes if you dig a bit too deep.
- Water – Needed for mixing concrete. Have buckets on hand if you don’t have a garden hose nearby.
Tools
One of the advantages of aluminum fencing is that it can be installed with minimal tools. However, a few power tools can speed up the process if you prefer.
- Post Hole Digger / Power Auger (Optional) – A manual post hole digger is affordable and effective. For larger projects, renting a power auger can save significant time and effort.
- Concrete Mixer (Optional) – Renting a mixer is an option if you prefer not to mix concrete by hand.
- Drill – Even when panels come with pre‑drilled holes, you may need to make adjustments to accommodate your specific layout.
- Hacksaw or Power Saw (Optional) – Aluminum cuts relatively easily. A hacksaw works well for small adjustments; a power saw can speed up larger cuts.
- Rubber Mallet (Optional) – Useful for gently tapping posts into alignment after they’re set in concrete.
Ready to Install
Once you’ve gathered your supplies, take time to plan your layout and refer to detailed installation guides. Many projects can be completed over a weekend, with smaller jobs even finishing in an afternoon. Proper preparation not only makes the installation smoother but also helps ensure your new aluminum fence delivers the security, style, and curb appeal you’re looking for.